
In this post, you will learn how to create your first pivot table, which you may have never done before but which seems like magic to you. Even if you use pivot tables frequently, you may improve your understanding of how they work.
Microsoft Excel’s most noteworthy and terrifying feature is the pivot table. It’s useful since it can help you summarize and understand enormous amounts of data.
It’s intimidating since you’re not an Excel expert, and pivot tables have a reputation for being difficult. The good news is that learning how to create a pivot table in Excel is a lot easier than you might think.
It’s essential to follow basic guidelines while creating Pivot Tables, and your data must be organized in a specific way.
Minimum Requirements for Pivot Table Analysis
- There must be a heading for each column. In the case of column headers, no blanks or empty cells are permitted. The title is always at the top of the column in your data.
- All the column names had to be unique. In older versions of Excel, each column title could only be used once. If a title appears more than once in the latest version, give it a number at the end.
- Your data should be organized in a database-like format. There should be just one criterion or value in each column. If you are already familiar with Excel’s “table format,” you should have no difficulties.
Pivot Tables behave differently depending on the platform on which you run Excel.
- Select the cell or cells from which you want to create a PivotTable. As described earlier, your data should be organized into columns with a single header row or converted into a table. You don’t have to worry about cell ranges altering in the future if you turn your data into a table.

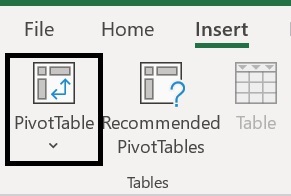
- Select Insert > PivotTable or Recommended PivotTable
- This creates a pivot table from an existing table or range of data.

- Choose an appropriate location for the PivotTable report. Select New Worksheet to insert the PivotTable into a new worksheet, or Existing Worksheet to add the PivotTable into an existing worksheet.
-
Click OK


Leave A Comment